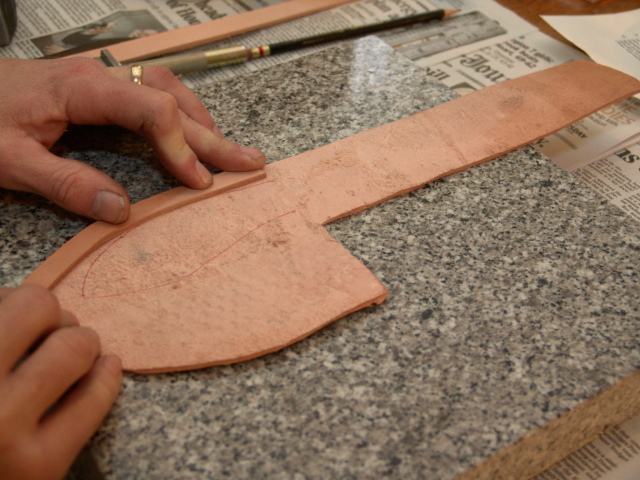
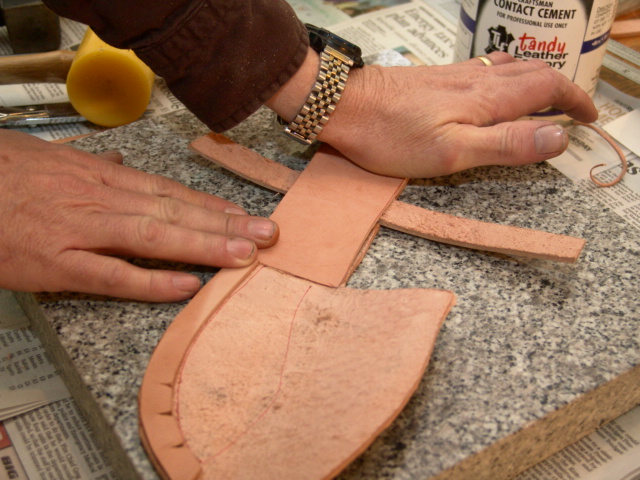
At this point,
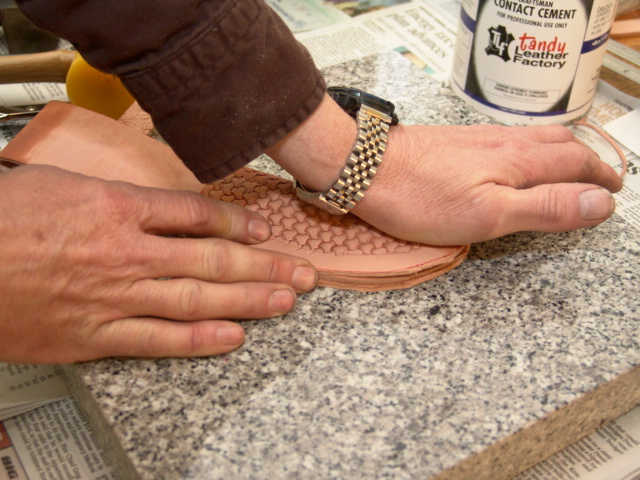
we have cut out our leather and stamped a basket weave pattern on the front of
the sheath.
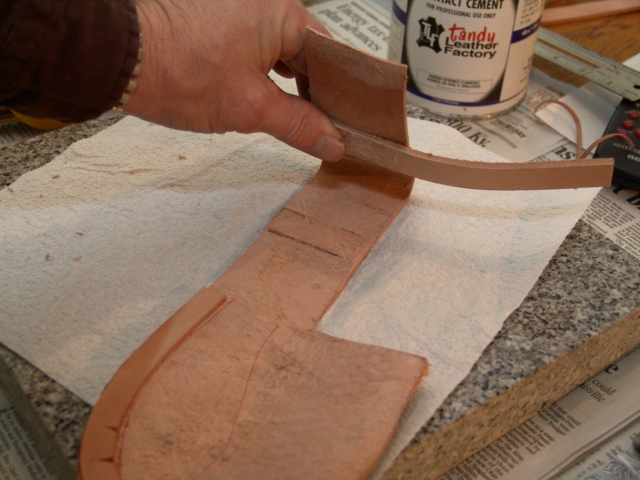
Now we need to add a welt. The welt protects the blade and sheath. Without a
welt, the blade would cut the threads, or in the case of a riveted sheath like
this one, rub against the metal rivets and dull the blade.
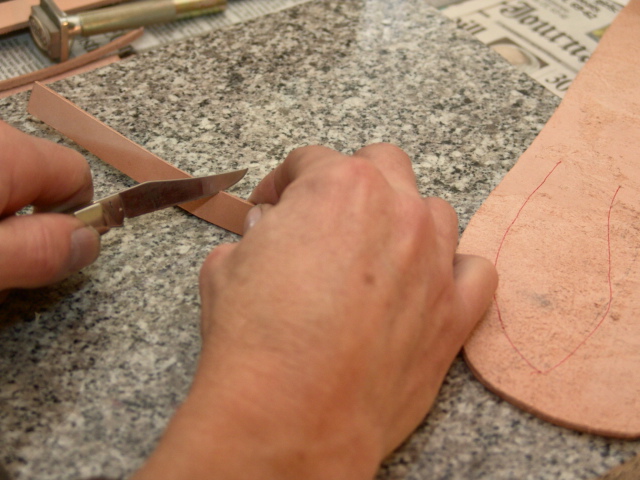
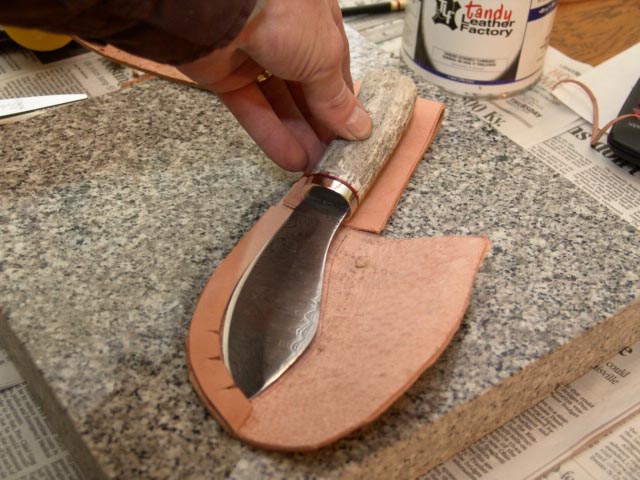
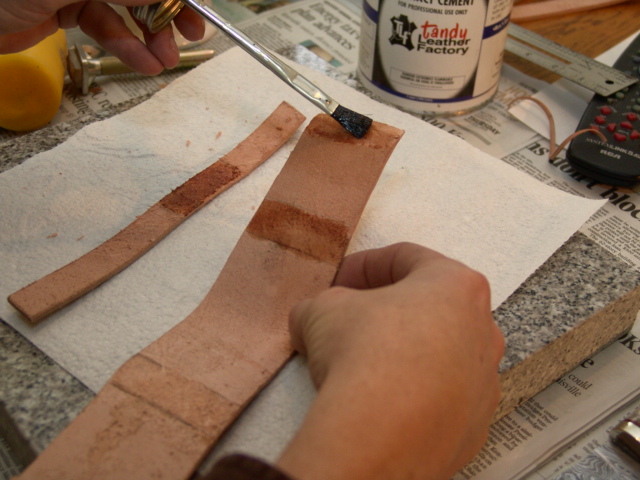
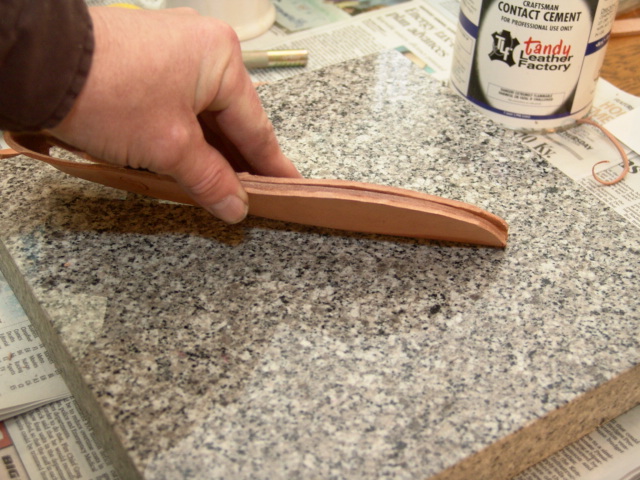
I cut a piece of 1/2 inch wide leather for the welt.
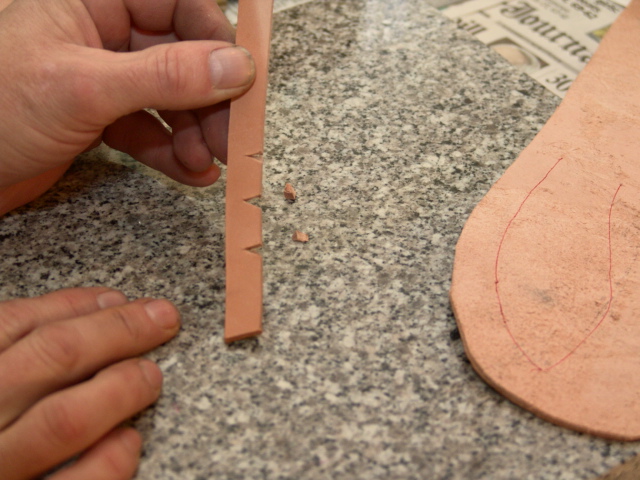
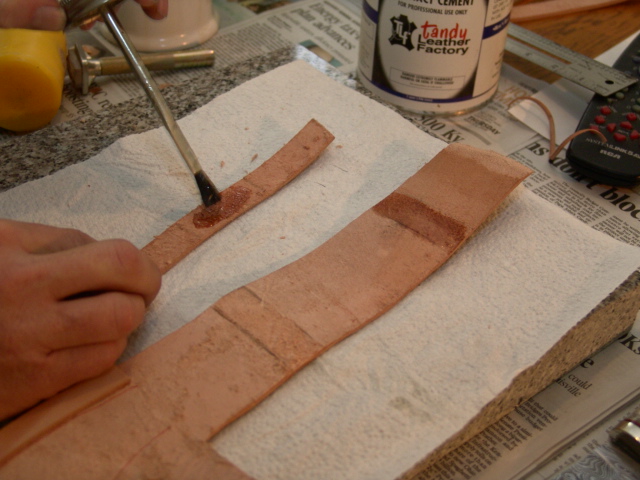
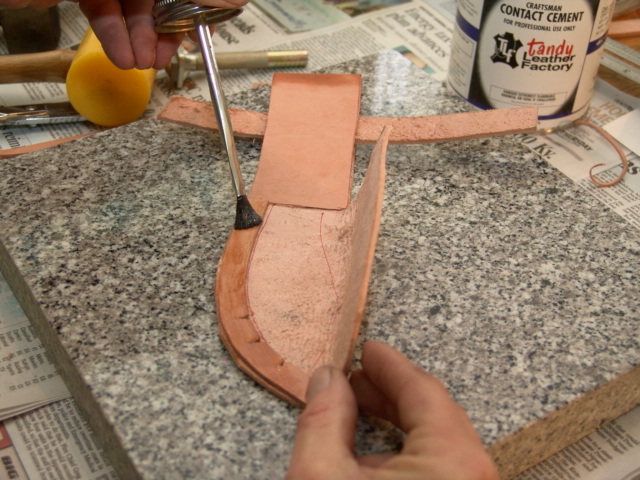
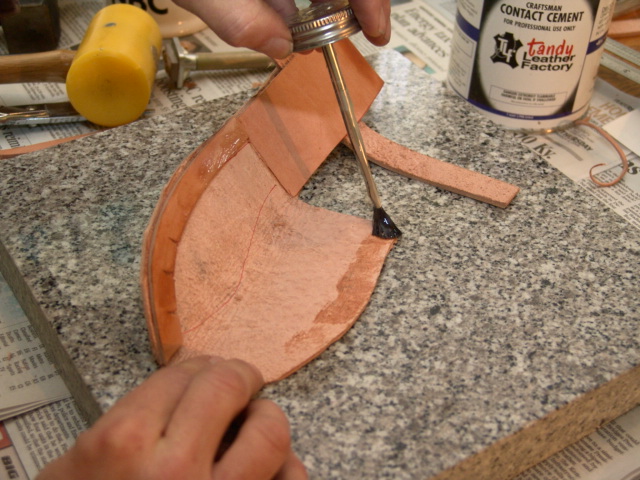
To help the leather make the tight turn around the tip of the blade, I cut a few "V" shapes.
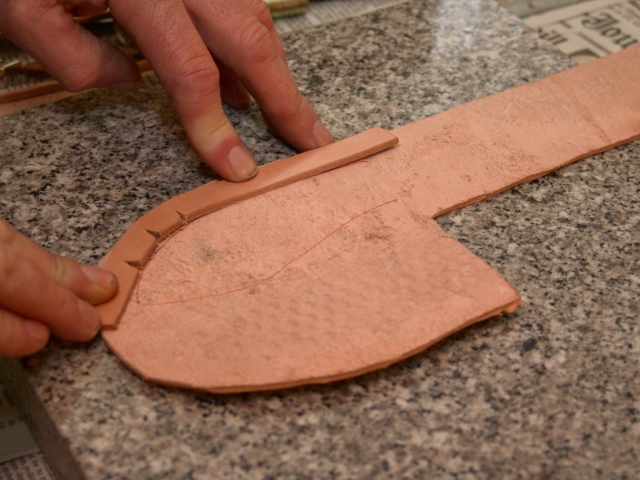
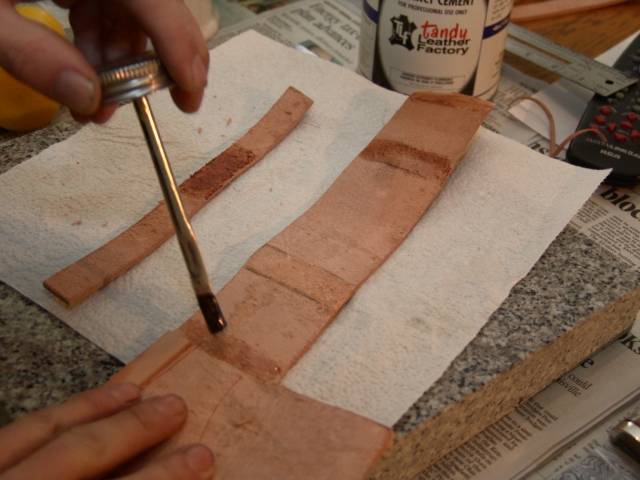
Now put leather cement on both parts and let it sit until it is not tacky.
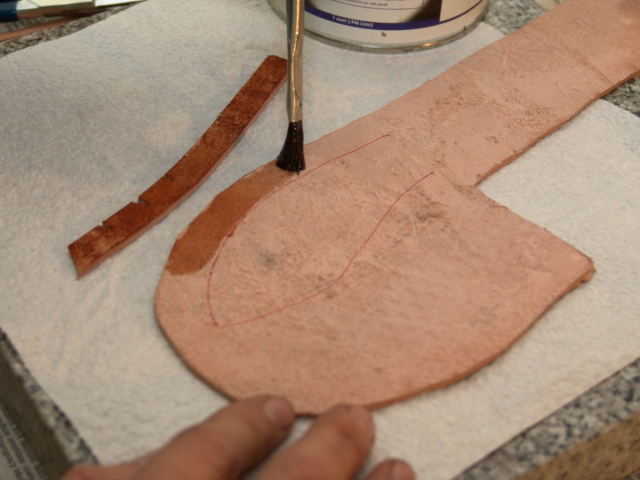
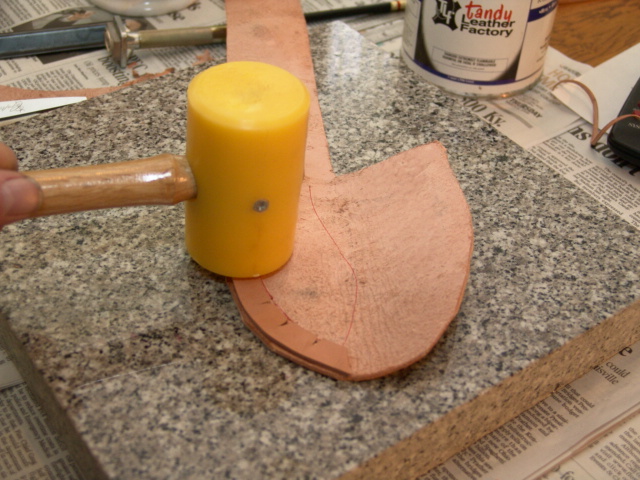
After the glue has dried until it no longer tacky, stick the pieces together gives them a few smacks with a mallet.
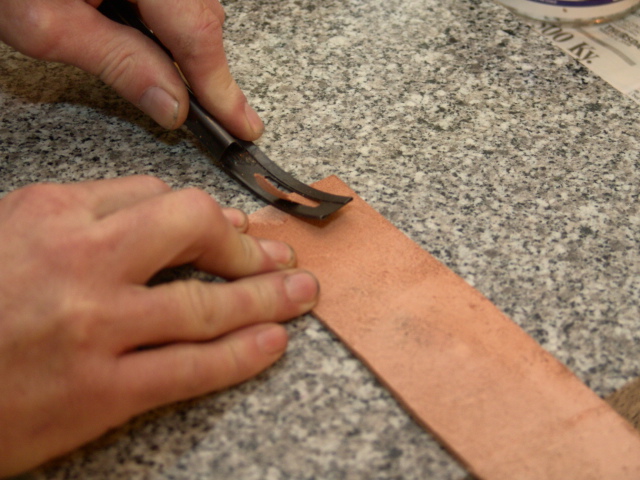
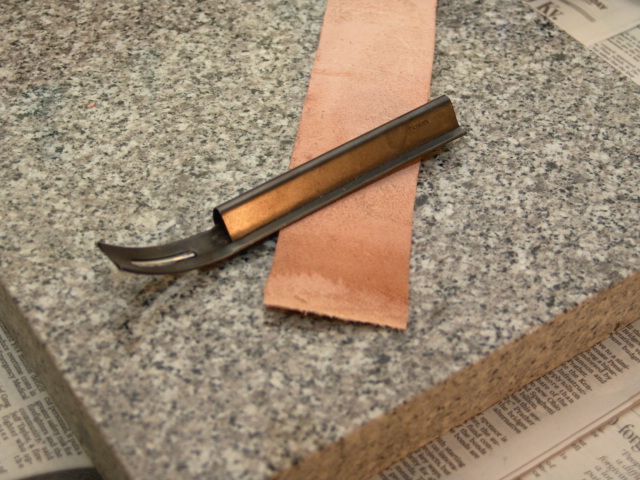
Now I use a skiver to taper the end of the belt loop to a thin edge.

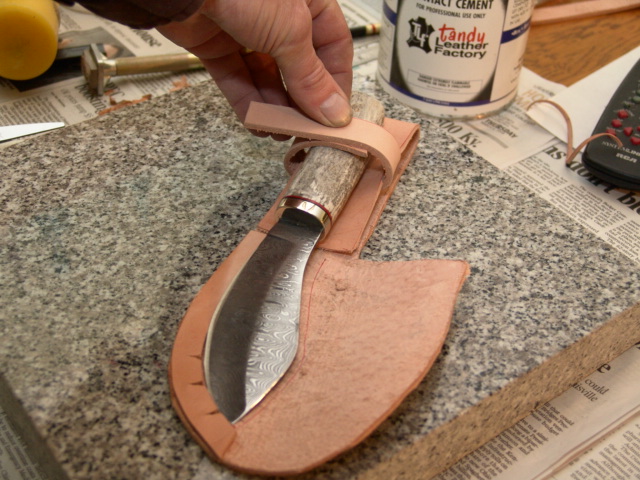
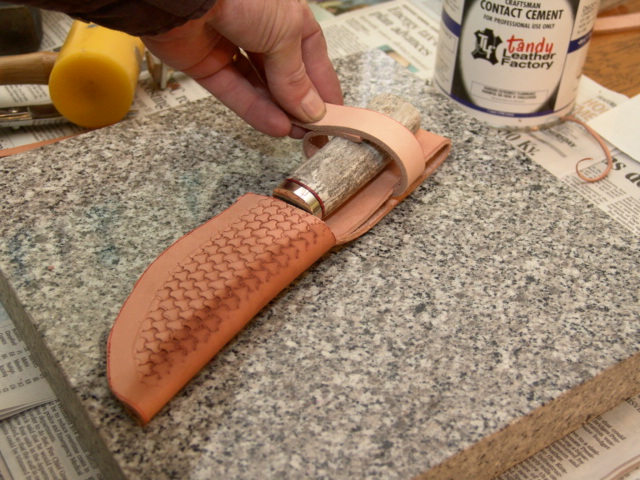
I double check to make sure everything is lining up correctly.
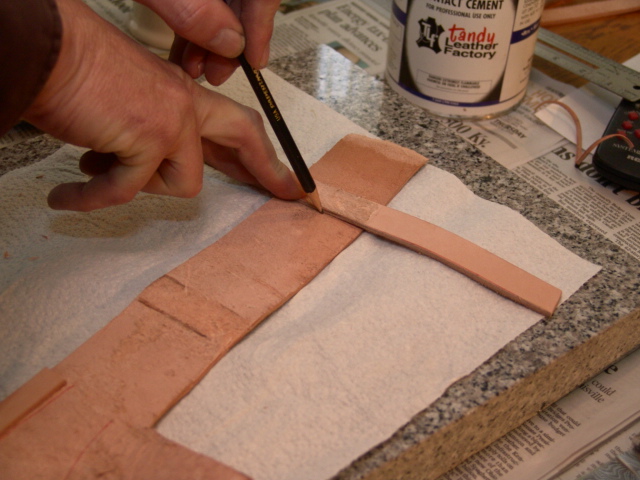
I cut a 3/4 inch wide strip of leather to make my retaining strap.
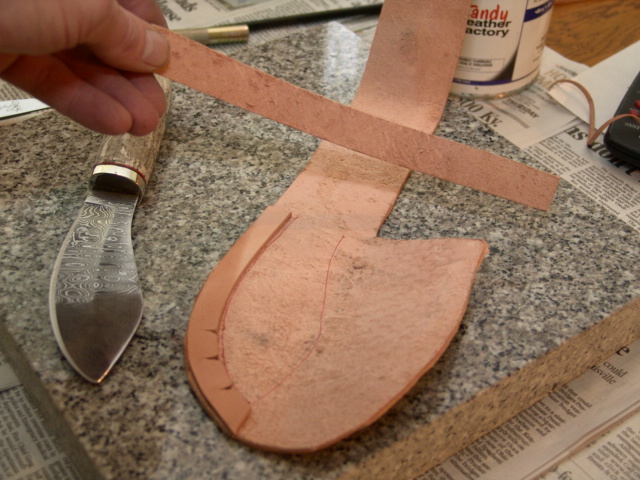
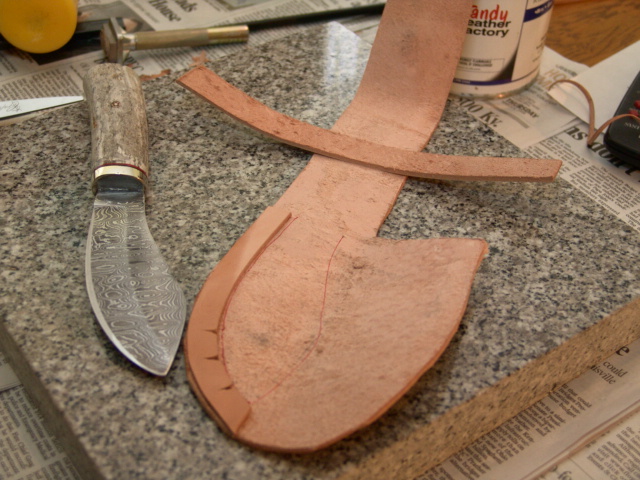
I check the length and position of the retaining strap.
And mark the position of the strap on the front part of the belt loop
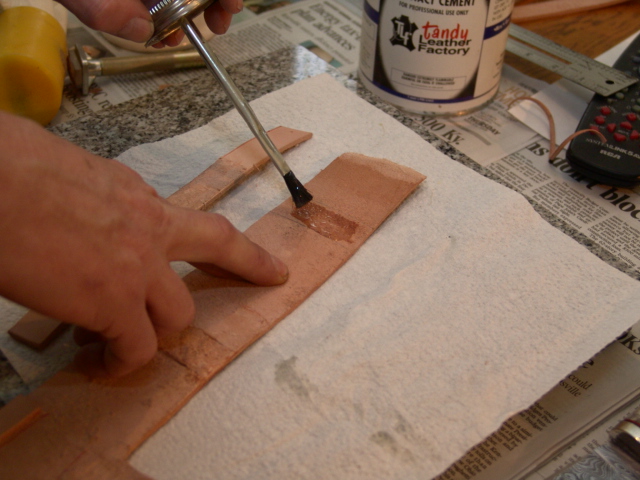
Now put leather cement on both parts.
Notice that I also marked the width of the belt loop on the
retaining strap.
Try not to get cement where you don't need it as it will prevent the stain for
adhering later.
At this point you can also add cement to the belt loop.
Use a damp sponge to wet the leather where it will be folded.
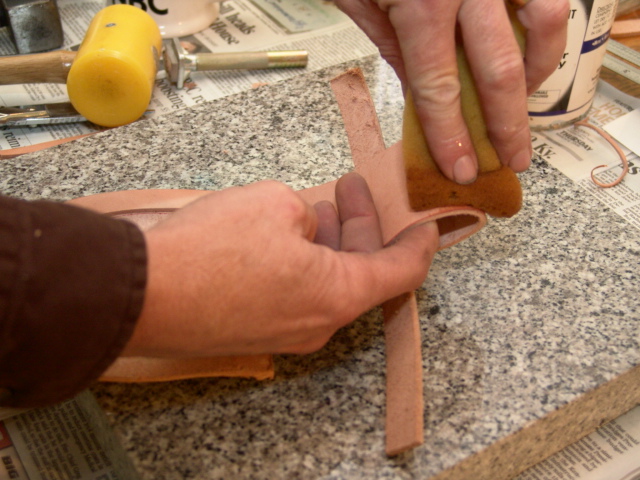
Make your folds and press it down. It will hold this shape when it dries.
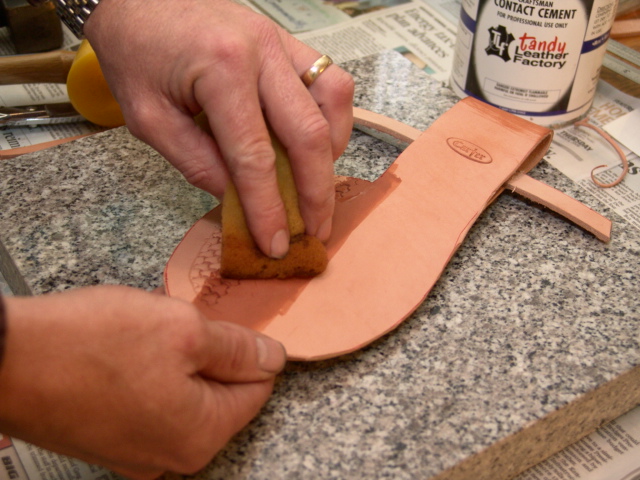
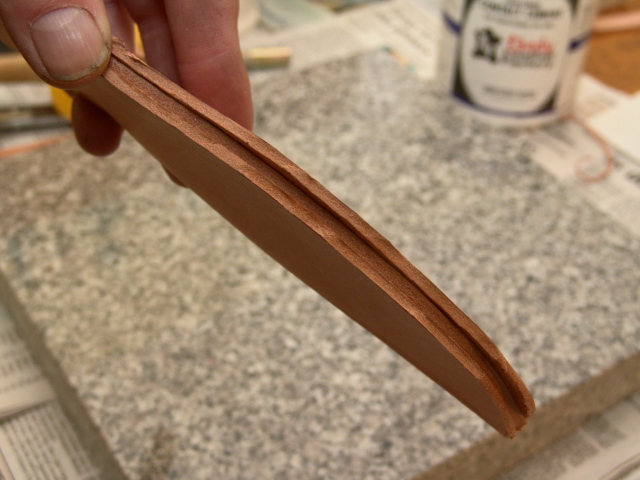
Now we can cement the fold-over part of the sheath to the welt.
It's starting to look like a sheath!
Here you can see the welt sandwiched between the front and
the back.
The edges are a little uneven and rough so we will take care of that next.
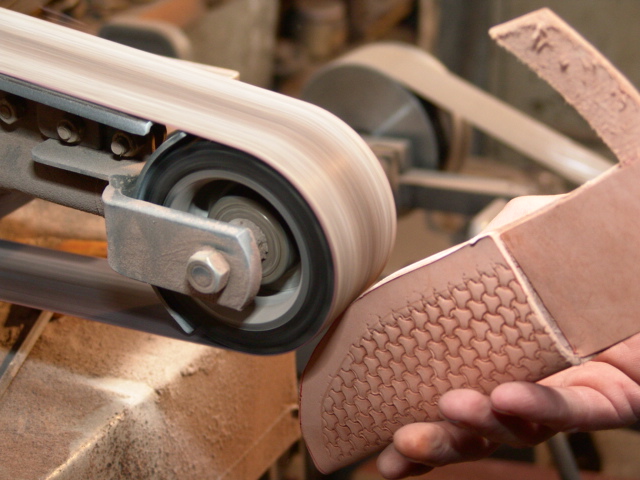
I use a small belt sander to even the edges and do my final shaping of the sheath.

Click HERE to go to PART FOUR - Finishing